Lady Tia and I at the Leather, Feather, and Lace Ball (8-04)
Welcome to Darrian's
(David Rich)
Personal Art Page
Lady Tia and I at the Leather, Feather, and Lace Ball (8-04)
|
Here are a few of my favorite art pieces that I had created back in High School. Since there tends to be so little money in paintings and such, the reality of life and paying the bills did not allow me to continue this as an occupation. My current art is to publish these hundreds of web pages for your entertainment and education. And near the bottom you will find my current copper sheet metal art that I sell to clients all over the country from my business web site: copper-by-design.com |
Bookmarks
| Early Drawings | The Making of Darth Vader | Our Art Collection Pages |
| Copper Sheet Metal Art | Our Philosophies |
Click on the art below to see a close-up.
| My Early Drawings |
  |
|
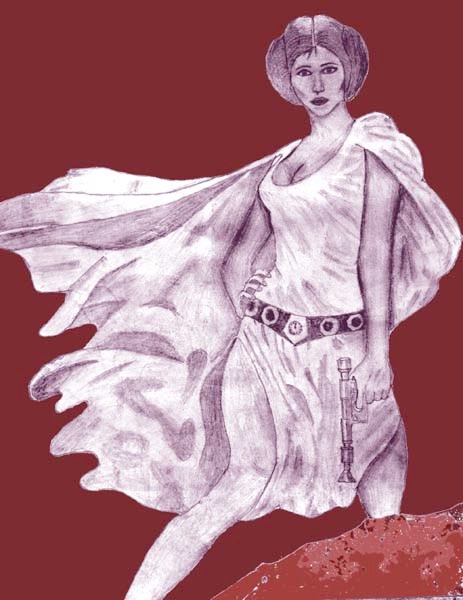
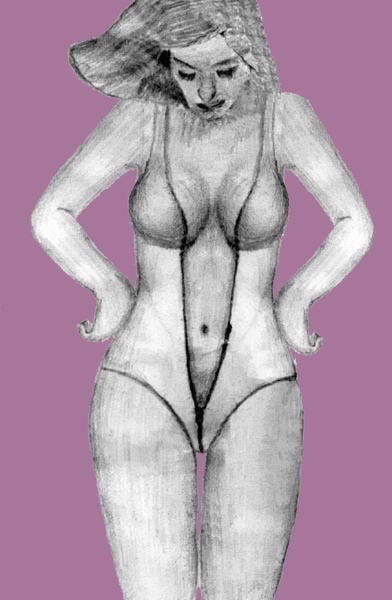
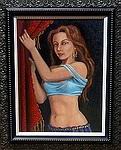
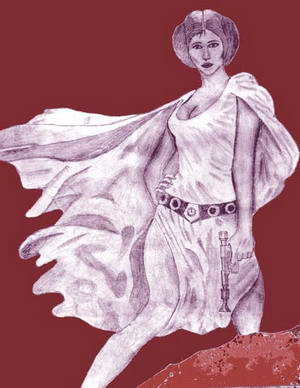
I would take a photo out of a magazine that I liked and blow it up on an opaque projector onto a piece of paper that I would tape on the wall. I would use this just to trace the outline of the basic shapes of the subject. This would help me get everything in proportion. It would be frustrating to try to fight the dimensions of the image, so I avoided this the time and difficulty of doing it the old fashion way, making it a more enjoyable experience for me as an art student. It was not a technique that my teachers recommended, but I felt that it was a good advantage of our modern world we could and should take advantage of.
|
|
I then would spend many hours studying the photo and shading in all the areas of the picture to give the image life. One early art teacher explained to the class that the is no lines in nature. This was a big help to me in how I see the world. It takes shading to make an image look real. These were done in pencil, and got plenty smudged over the years before I scanned them in to display on the web. I was not able to work with pen as the pressure I applied to the pencil was a good way to regulate the darkness of the shading, and of course I could erase what I needed to fix and do over. The eyes were the most difficult to get the way I wanted. I would often erase that area of the paper so much that it damaged the paper and made it even more difficult to work on.
|
.
.
![]()
.
.
|
Skateboard Designs |
|
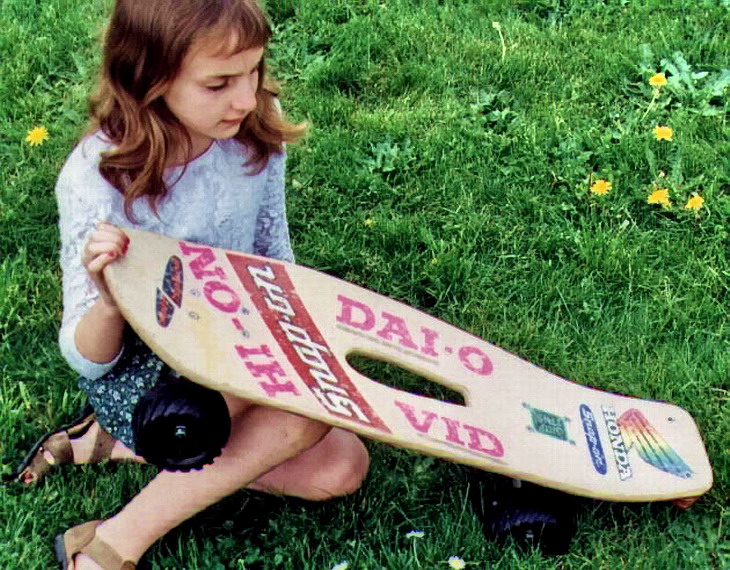
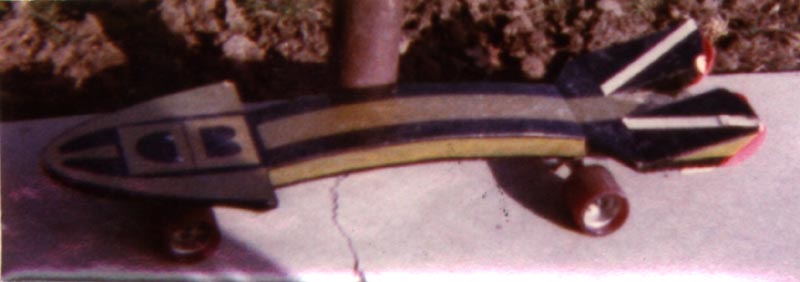
These are some skate board decks I made or designed. That is my daughter Hope below with the latest skate board I have still. It has large rubber wheels on it that are usable on gravel roads. It is nice in that it rides very quietly over the road and does not vibrate so much, and best of all, rocks on the road are not such an obstacle. I had many more different skate boards than shown here, but they were not photographed, so I am unable to share them with you.
I cut this shape out of a blank skate board deck. It was already formed into the concave shape, but was just a rough rectangular shape. I also cut the hole in the center. I decorated it with stickers and found a clear grip tape to cover them with. It has a soft plastic bottom layer to take the scratching that many skate boarders do to their decks.
|
| I was into skateboards
before the introduction of polyurethane wheels. At first I could
not afford even $15 a real skate board. The kind that K-mart sold
(I forget the brand name),
with a thick molded soft black plastic deck that was only about a 4.5"
wide 18" long in a simple stretched football shape, with narrow trucks
and small plastic wheels.
I instead took an old pair of steel wheel roller-skates to use for the wheels. The type of skates that would strap onto the bottom of your shoes. The foot size adjustment bolt was so rusted that I ended up having to smack it with a hammer back and forth, until the center steel frame rail finally broke in two. I then used several 16 penny stud nails driven into a short 2x4. I bent the nails over the skate halves to hold it to the board. Of course alignment was never achieved, so it would veer off to one side or the other. I rode it so much that I ground down those steel wheels (which were incredibly noisy) down to the bearings, no joke. Later I got a paper route job and saved money to get one of those real skate boards at K-mart. <LOL> One time my Mother was disciplining me and took my skate board away as the punishment. I was furious! I said "You can take away something that you paid for, like even my bed, but your are wrong to take my skate board that I worked and paid for". |
| After moving to Oregon
in 1977 My first quality skate board
(not pictured)
was by Logan Earthski.
It was a funny story of how I got it. I was in my Sophomore year in High School. I had just received my first pay check from my job at a burger place called Herfy's (later bought out by Arctic Circle). My paycheck was for only $50. Not enough to buy a good skate board. A close friend in art class said he could double my money in a week by buying and selling pot there at school. He was very insistent, so I finally agreed. I gave him even better terms than he suggested. I told him that I would give him 2 weeks, and he only had to pay me a $25 return on my investment. But for these good terms, I would need to have his new skate board he just paid $80 for as collateral. Needless to say, I never had to return that skate board. <LOL> |
| When I bought the blank
deck to customize (shown above),
Cal Skate was still running that indoor skate park near the Hawthorne
Bridge, and I could not get any wheels larger than 55mm. What
was up with that trend? I understand they were good inside that
skate park, where there is no rocks or debris to worry about, but on
the streets they are crap! It is nice to see some sizable wheels
being made again. I was amazed to see that 101mm wheels with orange
plastic rims are the rage for long boards. Wow!
I failed to get some clear photos of the coolest skate board wheels I bought back in the early 1980. They had a center aluminum rim with 5 oval holes that held the bearing races and was about 60mm in diameter. It literally looked like an old fashion mag rims on a car. The hard clear red urethane was only about a 5mm band molded around that rim. It was so hard that it did not hardly wear at all. They were also very wide compared to most wheels. I would say they were about 60mm wide.
This skate board was one I made in wood shop. It was a goofy experiment on form. It was usable, but it was not flexible and was much heavier than other decks. |
|
My next skate board was from Kryptonics (not pictured) who started out as a skate board wheel manufacturer. It was a new concept in decks. It had a light weight green foam core that was about 3/4" thick and was sandwiched in between two fiberglass sheets. It was a good strong skate board deck, but I got my car broke into just visiting my old High School and lost it. I thought those decks were great, but they never caught on, as it was a little too revolutionary.
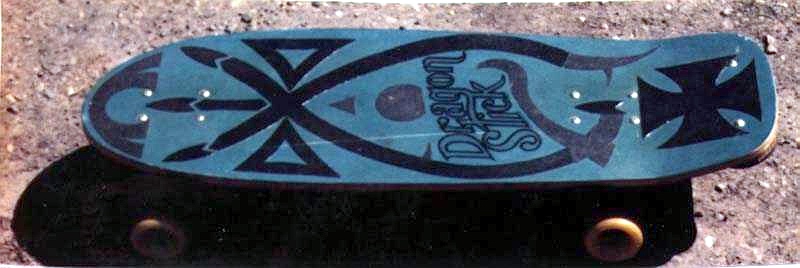
The deck shown above was later made by Kryptonics as well, It has a cool dragon image on the bottom. I did the grip tape design on the top. I thought that was pretty creative. I guess because of sales being slow, this company reverted to building wood decks like this one, but they had a thin fiberglass paper layer on the top and bottom of the deck to resist abrasion. It never caught on for some reason either. Later a different company began to laminate a soft plastic layer on the bottom of decks for this purpose, but that did not sell well enough either, as it seems that a scratched-up, chipped, and even broken deck are considered a trophy of radical stunting. It shows that you really used your skate board hard. What a funny world? I am sure those who sell skate board deck are not complaining. |
![]()
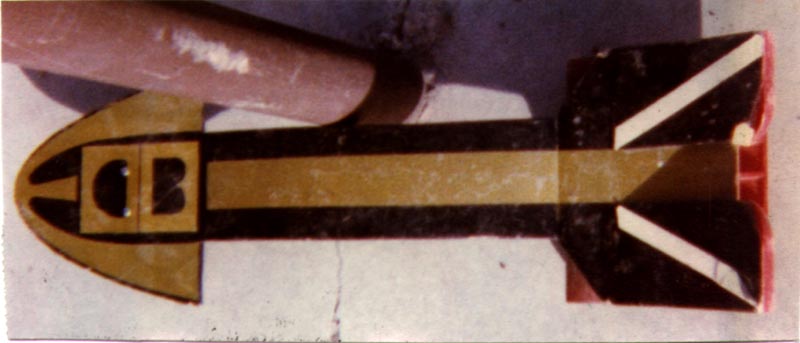
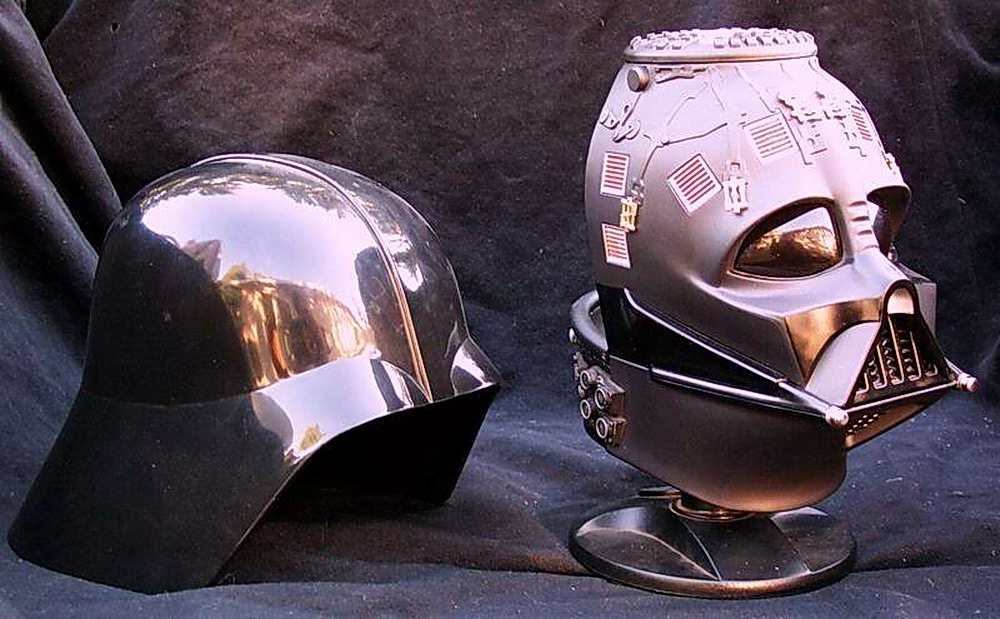
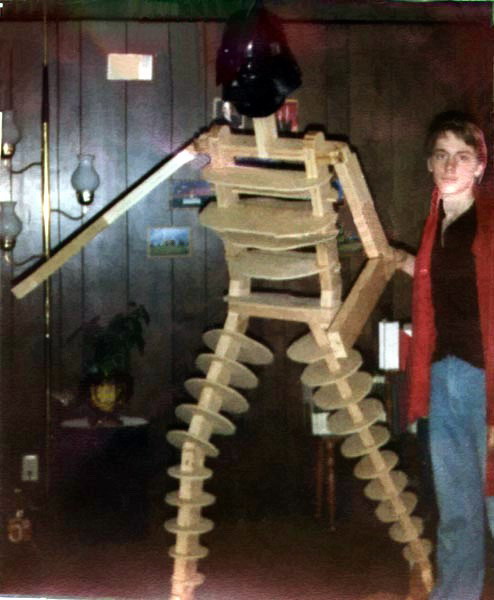
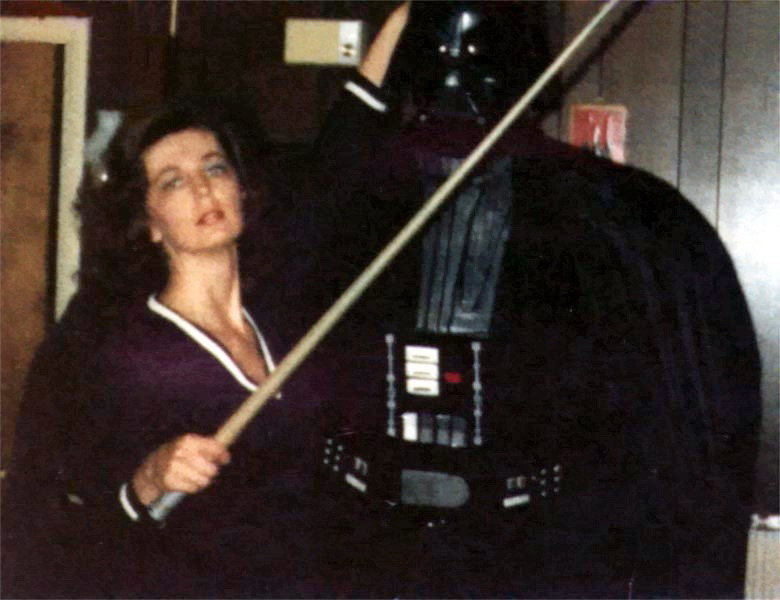
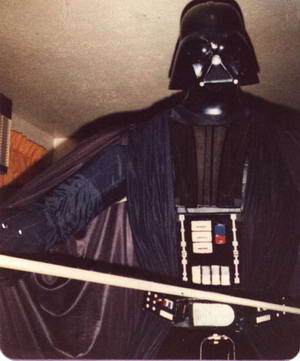
Read below about the construction of this Darth Vader mannequin, back when I was only 17 for the promotions of the first sequel to Star Wars in Salt Lake City Utah. The pictures are not so clear, since my Mother only had a cheap 110 camera at the time. I am lucky to have these pictures to share with you.
|
|
|
I just loved the design of Darth Vader. This character was a conglomeration of many notorious villains in literature and history, being part (a) cloaked vampire (b) sword fighting pirate (c) the helmet was like that of a Nazi storm-trooper (d) leather clad motorcycle renegade (e) humanoid robot gone bad (f) giant part insect (g) evil wizard (h) menacing demon (i) strong giant (j) scary alien (k) evil genius bent on world domination, etc.. These pieces all wrapped onto one super villain. He made the perfect monster for the 70's, 80's, and even into the 90's.
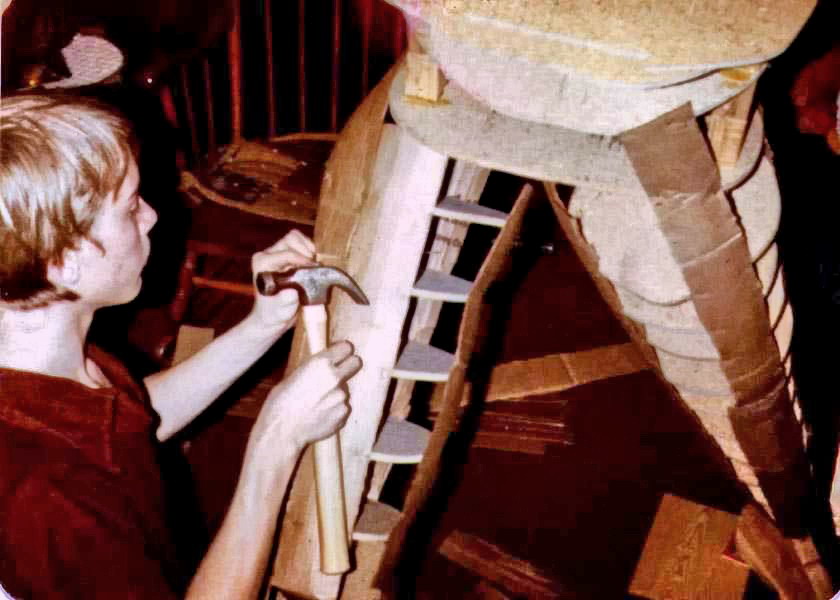
Since they don't make a 7 foot mannequin, I had to build one from scratch in my High School Woodshop class. The other guys in woodshop class were making projects like a rifle gun cabinet (which I also did also) and such. They must have thought I was nuts to make this large human frame. |
|
|
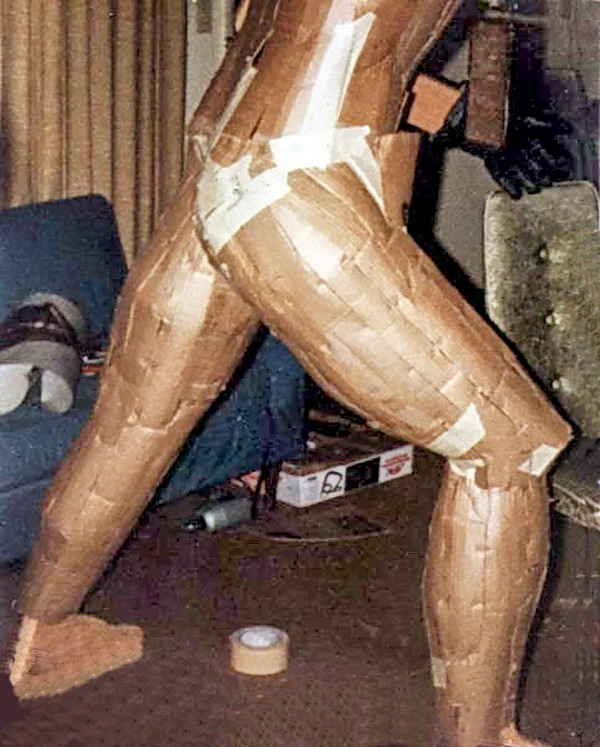
I designed him to be in a dramatic lunging stance pose. I still managed to have him balanced his weight on just his two feet without any other support. My Mother helped me sew the fabric for his costume. He had both capes, the mat black one that went under his belt, as well as the glossier outer cape. I used a thick aluminum wire in the bottom seam, bent into a soft zig-zag, to hold the cape out at the bottom like he was in motion. |
|
|
|
|
|
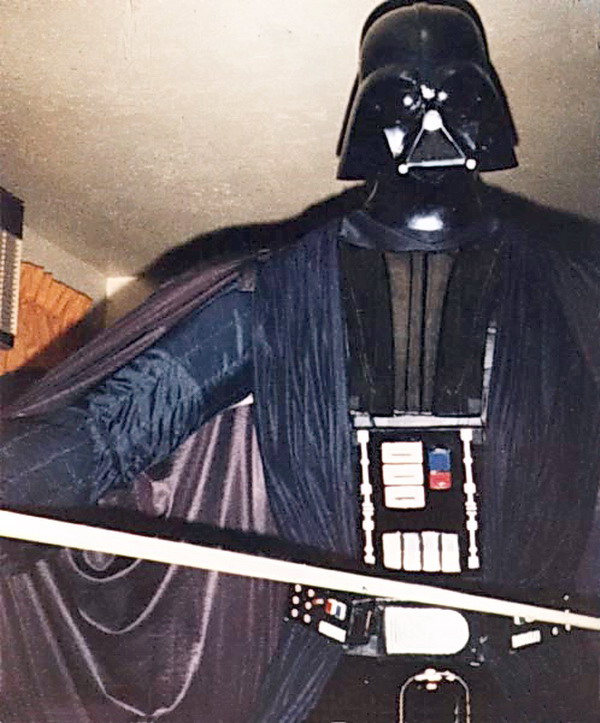
The theater Manager said they got over $3,000 worth of free publicity from this life size model I had made for them. By today's standards that would be more like $10,000 to $12,000 worth of publicity. I guess I should have charged more for it, but at the time I first proposed this idea, I was lucky he placed enough faith in my abilities to make this at all. I am sure he realized that they got a lot more for their dollar than they had imagined.
|
| Copper Sheet Metal Art |
|
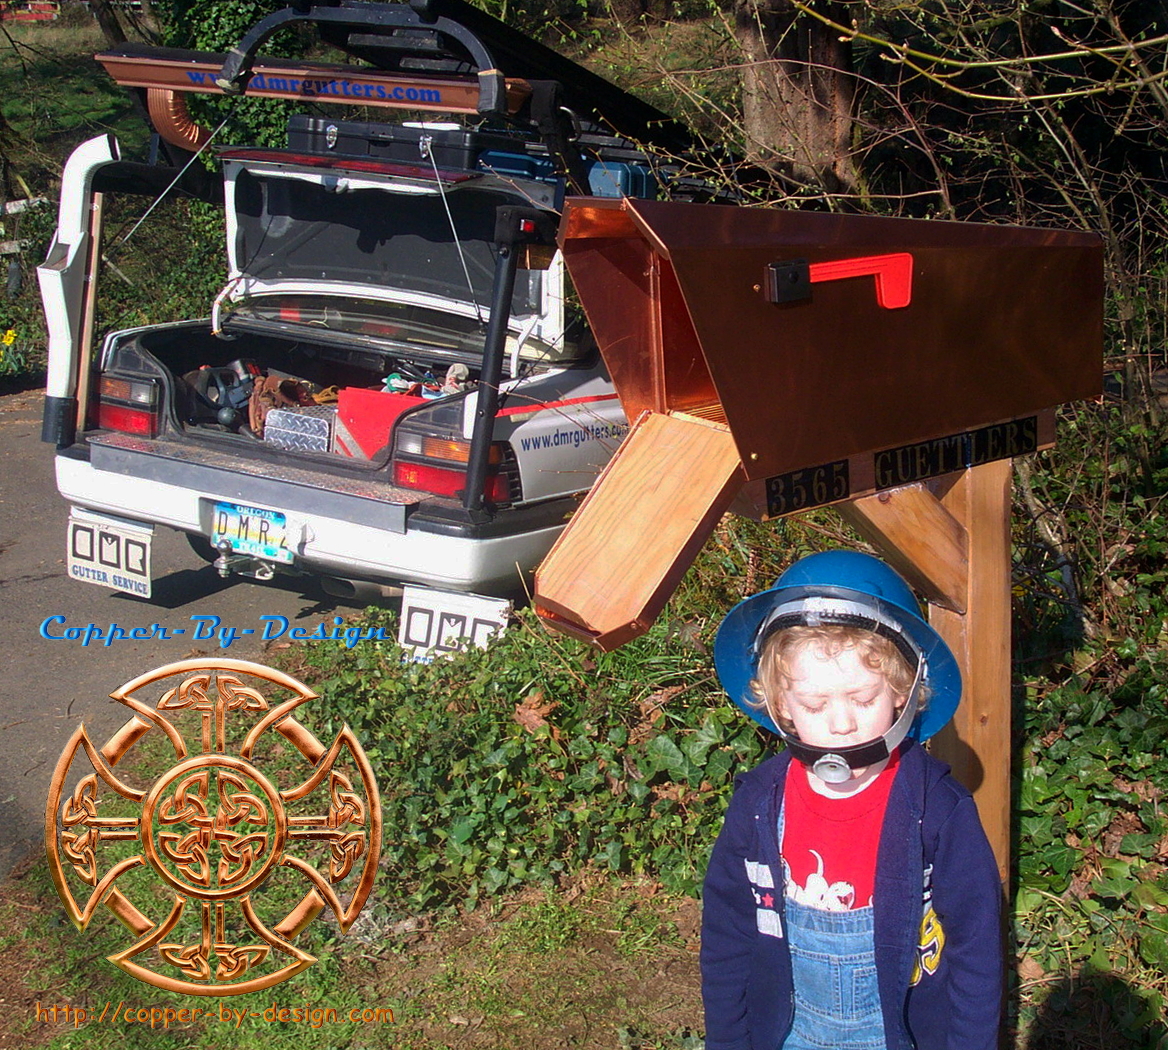
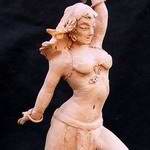
Here is me in a 20oz copper pyramid cap I made for my Brother Damion. It was designed with equal lateral triangles for each side, and is made from a single sheet of copper with only one seam. |
|
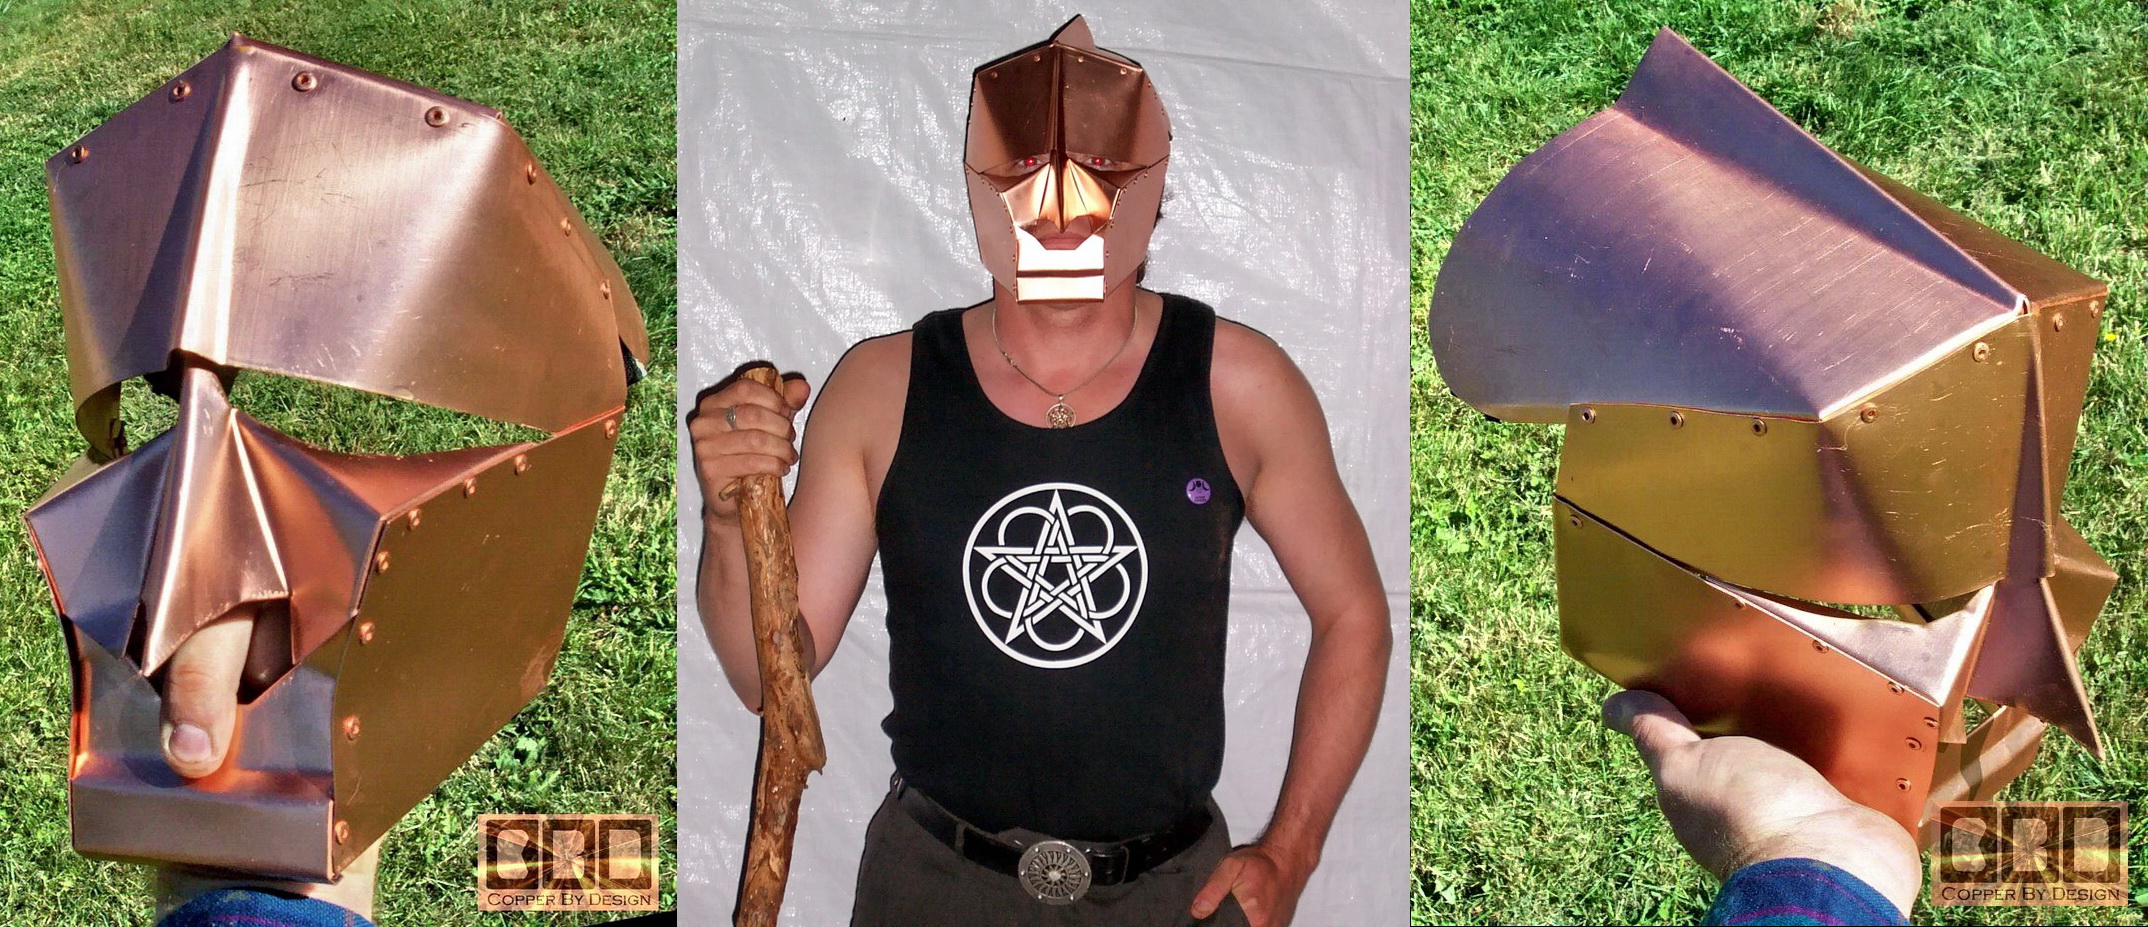
Here is a copper mask I made for the
main ritual of a Pagan Festival called
Summer Star that we attended in
the summer of 2003.
|
|
|
|
|
|
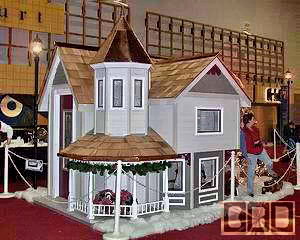
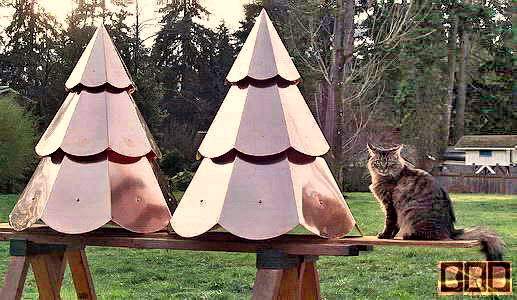
We attended their ritzy black-tie Gala they held, where they auctioned off the decorated trees and this Victorian-style playhouse. The playhouse, decorated tree, and the gift certificates went for $7,500. |
|
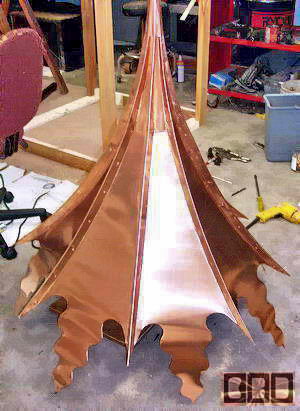
Here is a pair of 3 foot tall copper caps I made early 2004 for a client in Arlington Virginia. The top two sections are also done in a single sheet of 20oz copper with only one seam to seal. The bottom section for each cap was too large to make in a single sheet. I did manage to make 6 of the sides in one single piece. I also made the wood ring to step out the bottom section from the roof 1.5".
|
|
![]()
"All art
displayed on these pages are copyrighted by the artist.
Reproduction and distribution
is specifically authorized. All rights reserved."
Recent Purchases
| Our other obsessions: | Honda 600 Cars | |
 |
Soulmate Stories |
 |
| Spirituality | ||
| Family Photos | ||
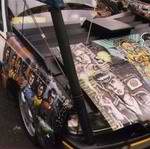
| Art Cars | ||
| Poetry | ||
| Philosophy | ||
![]()
See my
Art links page for lots more art web sites.
We will
be adding more images in time. Come back again!
A few words about personal Web Etiquette